Crafts and DIY for kids strategies can transform a rainy afternoon into a memory that lasts for years. Children learn best through hands-on activities. They build fine motor skills, practice problem-solving, and express themselves creatively, all while having fun. But here’s the thing: successful craft time doesn’t happen by accident. It takes a bit of planning, the right setup, and a willingness to let kids get messy. This guide covers practical strategies for making DIY projects enjoyable and educational. Parents and caregivers will learn how to set up spaces, choose projects, and encourage young makers to explore their creativity.
Table of Contents
ToggleKey Takeaways
- Set up a dedicated craft space with easy-to-access supplies and mess-proof surfaces to make DIY projects run smoothly.
- Match crafts and DIY for kids projects to your child’s age and abilities—simpler projects build confidence for harder ones later.
- Encourage independence by asking guiding questions and offering choices rather than correcting every detail.
- Use everyday household items like cardboard boxes, toilet paper rolls, and nature finds to spark creativity without extra cost.
- Build cleanup into the process by setting expectations early, assigning specific tasks, and making tidying up a fun game.
- Praise effort over outcome to help kids develop persistence and motivation to tackle more challenging crafts.
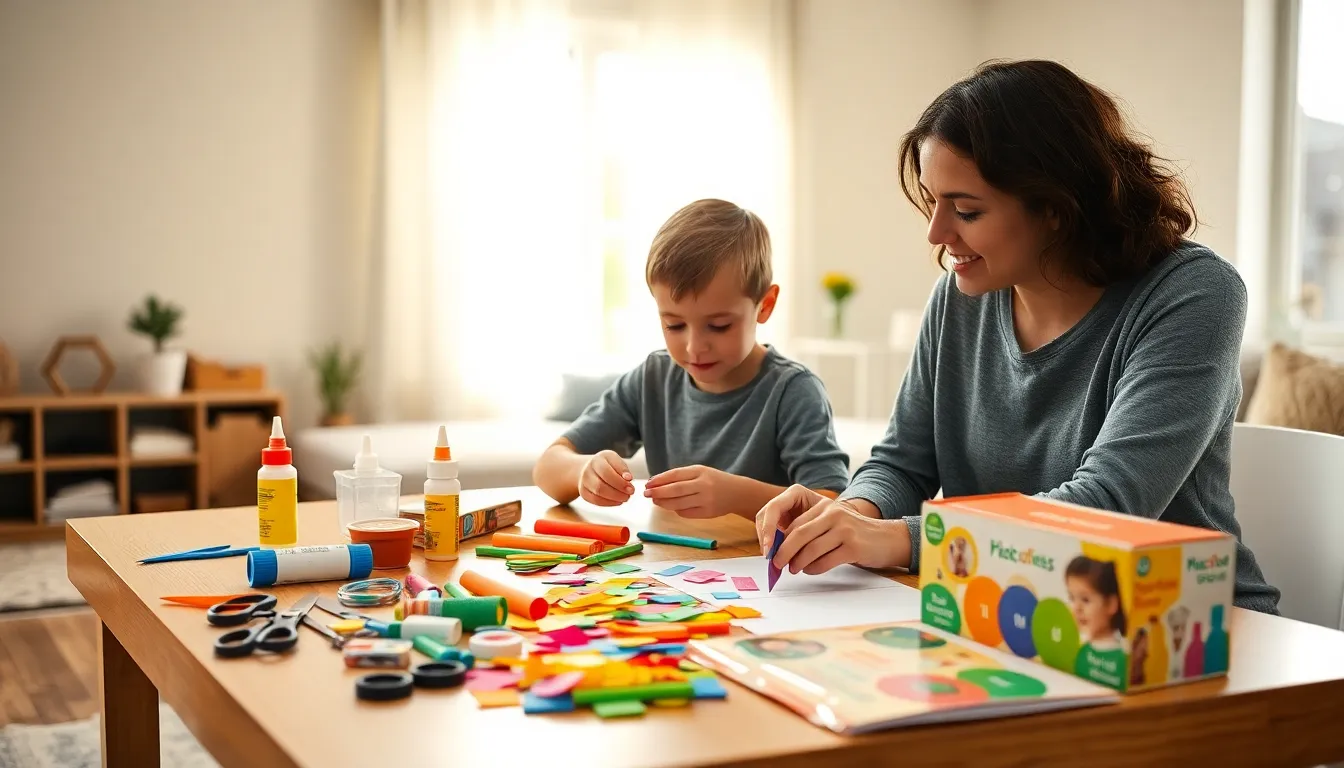
Setting Up a Kid-Friendly Craft Space
A dedicated craft space makes a huge difference in how smoothly projects go. Kids need a spot where they can spread out, make messes, and access supplies easily. This doesn’t require a whole room, a corner of the kitchen or a folding table in the living room works fine.
Start by choosing a surface that can handle spills and paint. A plastic tablecloth or an old shower curtain protects furniture and makes cleanup faster. Store supplies at kid-height so children can grab what they need without asking for help every two minutes.
Organize materials in clear bins or labeled containers. Crayons, scissors, glue sticks, and paper should all have designated spots. When kids know where things belong, they spend less time searching and more time creating.
Good lighting matters too. Natural light works best, but a bright desk lamp helps on cloudy days. And don’t forget seating, a chair at the right height prevents frustration and backaches during longer crafts and DIY for kids sessions.
Keep a “mess kit” nearby. This includes paper towels, wet wipes, and a small trash bin. Having these items within reach encourages kids to clean as they go.
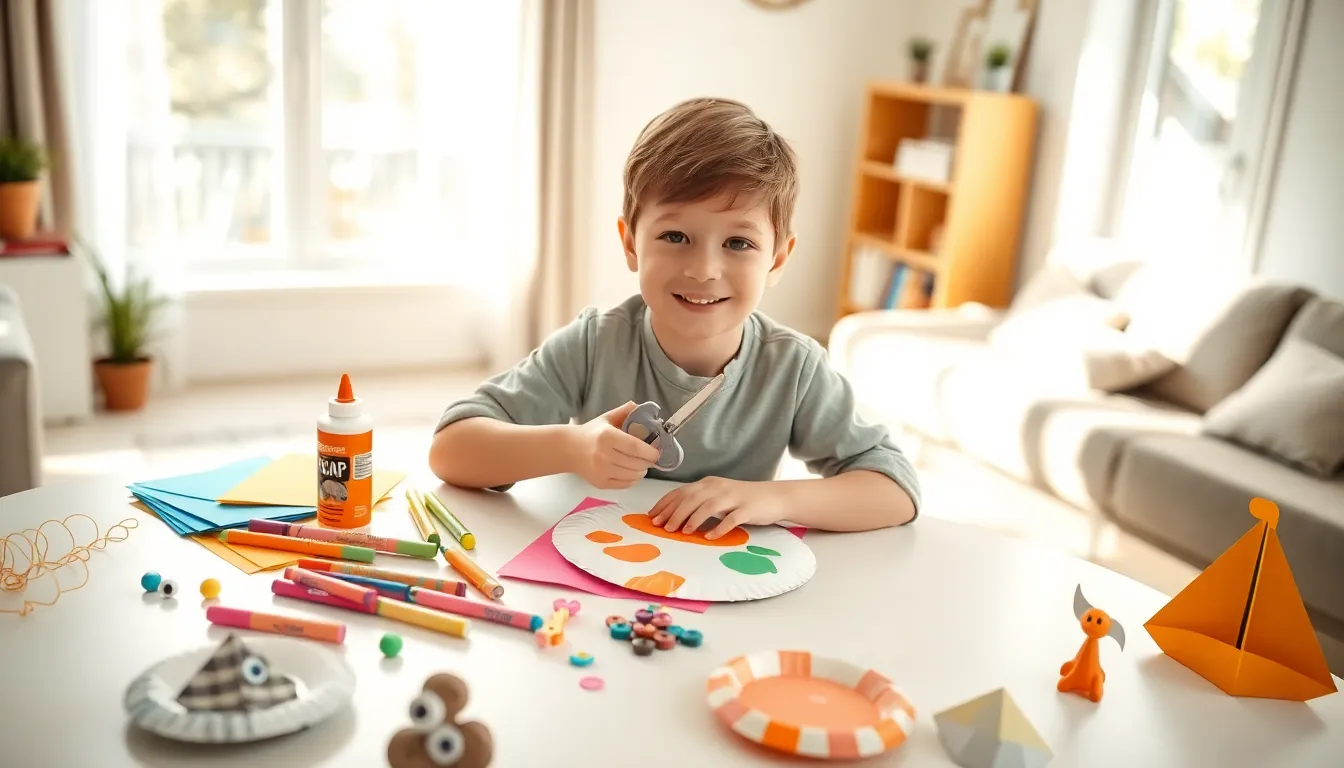
Choosing Age-Appropriate Projects
The best crafts and DIY for kids strategies match projects to a child’s developmental stage. A three-year-old and a ten-year-old have very different abilities. Choosing the wrong project leads to frustration for everyone.
For toddlers (ages 2-3), focus on sensory experiences. Finger painting, playdough, and simple collages work well. These activities don’t require fine motor precision. The goal is exploration, not perfection.
Preschoolers (ages 4-5) can handle scissors with supervision and follow basic instructions. Paper plate animals, simple origami, and bead stringing suit this age group. They enjoy projects with clear steps and visible results.
Early elementary kids (ages 6-8) are ready for multi-step projects. They can use glue guns with help, follow patterns, and wait for things to dry. Crafts like painted rocks, friendship bracelets, and basic sewing projects keep them engaged.
Older children (ages 9-12) want real challenges. They appreciate projects that look “grown-up” and serve a purpose. Consider jewelry making, woodworking kits, or upcycling old clothing. These kids also enjoy following YouTube tutorials independently.
When in doubt, err on the simpler side. A child who finishes easily feels confident. A child who struggles constantly feels defeated. Success builds the motivation to try harder projects later.
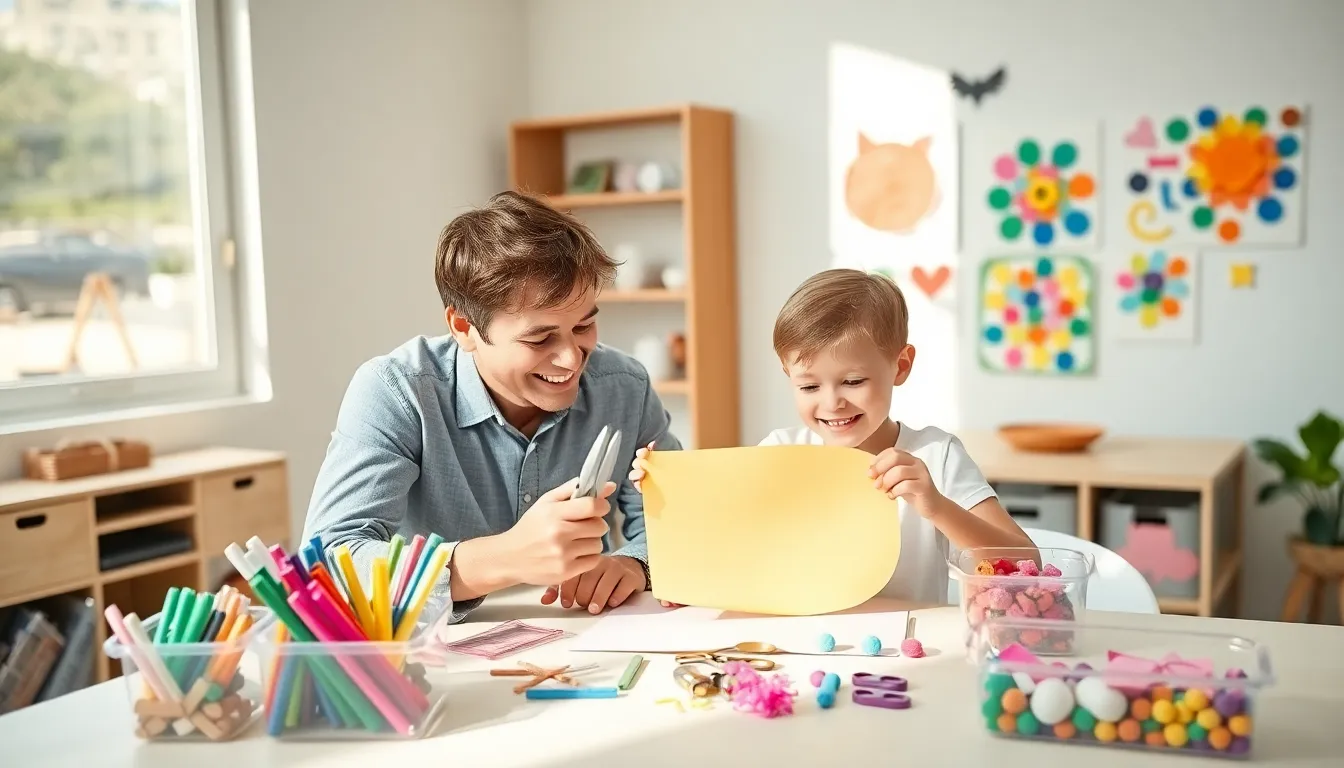
Encouraging Independence While Providing Guidance
One of the trickiest parts of crafts and DIY for kids strategies is knowing when to help and when to step back. Too much adult involvement kills creativity. Too little leads to frustration and abandoned projects.
Start by demonstrating the basic technique once. Show how to hold the scissors, how much glue to use, or how to fold the paper. Then let the child try. Resist the urge to correct every imperfection, those “mistakes” often become the most treasured parts of handmade items.
Ask questions instead of giving answers. “What do you think would happen if you used more blue?” works better than “You should add more blue.” This approach teaches kids to think through problems themselves.
Offer choices rather than directions. “Do you want to use buttons or pom-poms for the eyes?” gives children ownership of their work. They become creators, not just followers of instructions.
Some struggles are productive. When a child works through a challenge, they learn persistence. But watch for signs of genuine distress. If tears are coming, it’s time to offer help or suggest taking a break.
Praise effort over outcome. “You worked really hard on that” means more than “That’s so pretty.” Kids who hear effort-based praise are more likely to tackle difficult projects in the future.
Using Everyday Materials for Creative Projects
Some of the best crafts and DIY for kids strategies don’t require a trip to the craft store. Everyday household items become amazing art supplies with a little imagination.
Cardboard boxes transform into castles, cars, robots, and dollhouses. Toilet paper rolls become binoculars, animals, or desk organizers. Egg cartons work perfectly for caterpillars, seed starters, or paint palettes.
Nature provides free craft supplies. Leaves make excellent prints when painted and pressed onto paper. Sticks become wands, picture frames, or mobiles. Rocks turn into pet rocks, garden markers, or paperweights.
Kitchen items offer surprising possibilities. Dried pasta becomes jewelry when strung and painted. Coffee filters transform into butterflies and flowers when colored with markers and spritzed with water. Aluminum foil molds into sculptures.
Old magazines provide materials for collages. Newspapers work for papier-mâché. Buttons from the junk drawer become embellishments. Fabric scraps from old clothes make no-sew projects possible.
Using recycled materials teaches kids about sustainability. They learn that creativity doesn’t require spending money. Plus, there’s something satisfying about turning “trash” into treasure.
Keep a “craft stash” box in a closet. Toss in interesting packaging, ribbons from gifts, and other items that might be useful someday. When craft time arrives, let kids dig through and find inspiration.
Making Cleanup Part of the Process
Cleanup often gets treated as punishment, something that happens after the fun ends. Smart crafts and DIY for kids strategies flip this script. They make tidying up part of the creative process.
Set expectations before starting. “We’ll clean up together when we’re done” prepares kids mentally. They know what’s coming and won’t feel ambushed.
Build cleanup into the activity itself. During a painting project, washing brushes between colors teaches care for tools. Wiping down the table after gluing prevents dried-on messes that are harder to remove later.
Make it a game. Set a timer and see how fast everyone can put supplies away. Play music and challenge kids to finish before the song ends. Turn sorting supplies into a color-matching activity.
Give specific, manageable tasks. “Put all the markers in the red bin” works better than “Clean up this mess.” Young children especially need clear instructions they can follow.
Model good habits. When adults clean alongside kids, they show that everyone contributes. This teamwork approach feels fair and builds responsibility.
Store incomplete projects in a designated spot. Sometimes kids want to continue tomorrow. Having a “work in progress” shelf prevents arguments about throwing away unfinished masterpieces.
Celebrate when cleanup is done. A simple “Great job, look how nice our space looks now.” reinforces the habit positively.