Crafts and DIY for kids techniques offer more than just entertainment, they build fine motor skills, boost confidence, and encourage creative thinking. Whether children are cutting paper shapes, painting colorful designs, or assembling projects from recycled materials, these hands-on activities lay the foundation for problem-solving and self-expression.
This guide covers the essential crafts and DIY for kids techniques that parents, teachers, and caregivers can introduce at home or in the classroom. From basic cutting skills to age-appropriate safety tips, each section provides practical methods to help children create with confidence.
Table of Contents
ToggleKey Takeaways
- Crafts and DIY for kids techniques build fine motor skills, boost confidence, and encourage creative problem-solving.
- Start with basic cutting and folding skills using safety scissors and large paper to develop hand-eye coordination.
- Use age-appropriate materials like glue sticks for young children and reserve hot glue guns for older kids with adult supervision.
- Recyclable materials like cardboard boxes, plastic bottles, and old magazines make excellent low-cost craft supplies while teaching environmental awareness.
- Match craft complexity to each child’s age group—toddlers explore through sensory play, while children ages 9 and up can tackle advanced techniques like woodworking and jewelry making.
- Always supervise young children, use non-toxic materials, and establish clear workspace rules to ensure safe crafting experiences.
Basic Cutting and Folding Skills
Cutting and folding form the backbone of most crafts and DIY for kids techniques. These skills develop hand-eye coordination and prepare children for more advanced projects.
Introducing Scissors Safely
Children as young as three can begin using safety scissors with rounded tips. Start with soft materials like play dough or thin paper strips. This builds grip strength without frustration.
Teach the “thumbs up” grip: thumb in the small hole, fingers in the large hole. Remind kids to cut away from their body and keep scissors pointed down when walking.
Cutting Techniques by Skill Level
Beginners should practice straight lines first. Draw thick lines on paper and let them follow the path. Once they master straight cuts, introduce curved lines and simple shapes like circles and squares.
Older children can tackle more detailed patterns. Snowflakes, paper chains, and silhouettes challenge their precision. These crafts and DIY for kids techniques grow with the child’s abilities.
Folding Fundamentals
Folding teaches symmetry and spatial awareness. Start with simple folds, half folds and accordion folds work well for young children.
Origami introduces more structure. Paper airplanes, boats, and fortune tellers are classic projects that kids love. The key is starting with large paper squares. Smaller paper frustrates little hands.
Painting and Coloring Methods
Painting and coloring let children express themselves through color and texture. These crafts and DIY for kids techniques range from simple finger painting to watercolor projects.
Finger Painting Basics
Finger painting works best for toddlers and preschoolers. Use washable, non-toxic paints on thick paper or cardboard. Let children explore freely, there’s no wrong way to finger paint.
Add texture by mixing sand or salt into the paint. This sensory experience keeps young artists engaged longer.
Brush Techniques
Once children can grip a brush, introduce basic strokes. Flat brushes create wide stripes. Round brushes make dots and thin lines. Show them how pressure affects line thickness.
Sponge painting offers an easier alternative. Cut sponges into shapes and let kids stamp patterns onto paper. This technique produces interesting textures without requiring fine motor control.
Coloring Tools and Tips
Crayons remain a staple for crafts and DIY for kids techniques. Chunky crayons suit younger children, while standard crayons work for ages four and up. Colored pencils offer more control for detailed work.
Markers deliver bold, vibrant colors. Washable markers prevent permanent messes. Teach children to replace caps immediately, dried-out markers frustrate everyone.
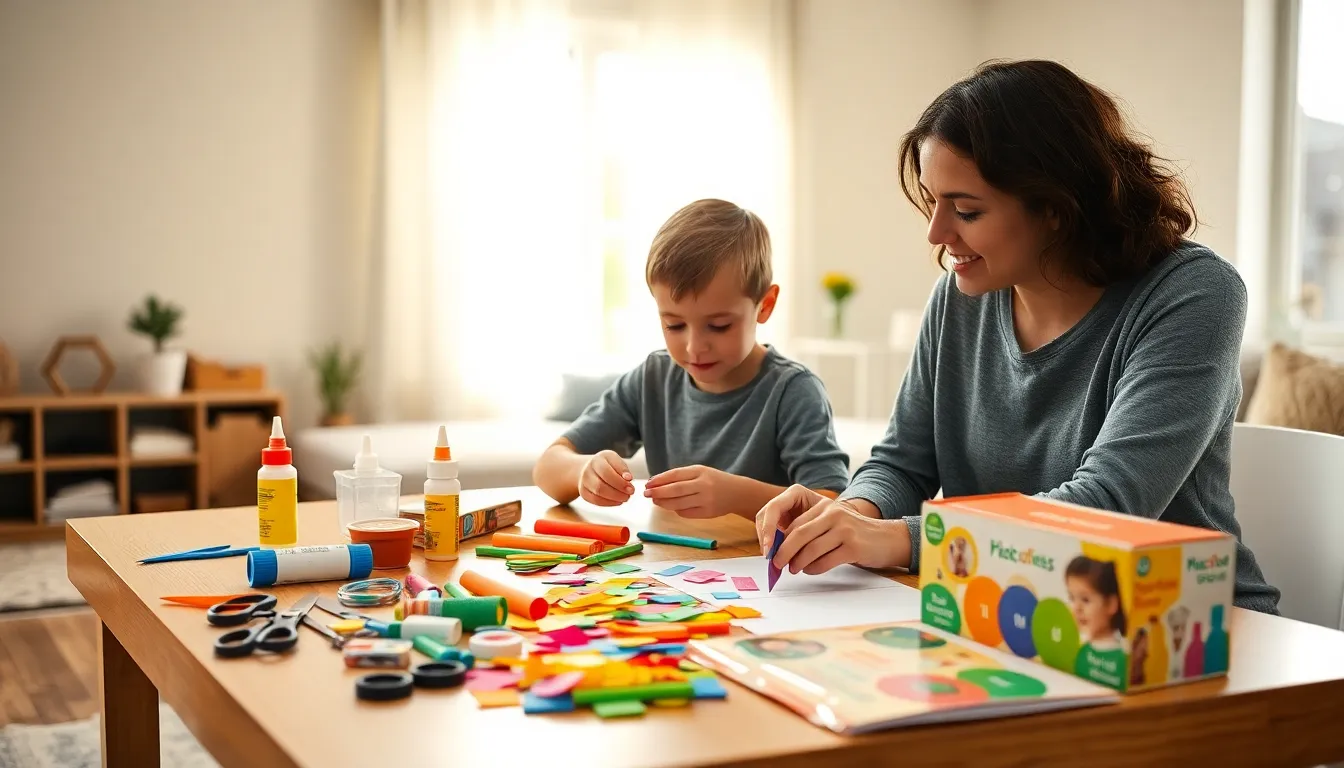
Gluing and Assembling Projects
Gluing transforms flat materials into three-dimensional creations. Mastering adhesives is essential for crafts and DIY for kids techniques.
Choosing the Right Adhesive
Glue sticks work best for paper projects. They dry quickly, create less mess, and don’t wrinkle thin paper. Young children find them easier to control than liquid glue.
White school glue handles heavier materials like fabric, felt, and lightweight wood. Teach children to use small amounts, excess glue takes longer to dry and weakens bonds.
Hot glue guns should only be used by older children with adult supervision. Low-temperature models reduce burn risk but still require caution.
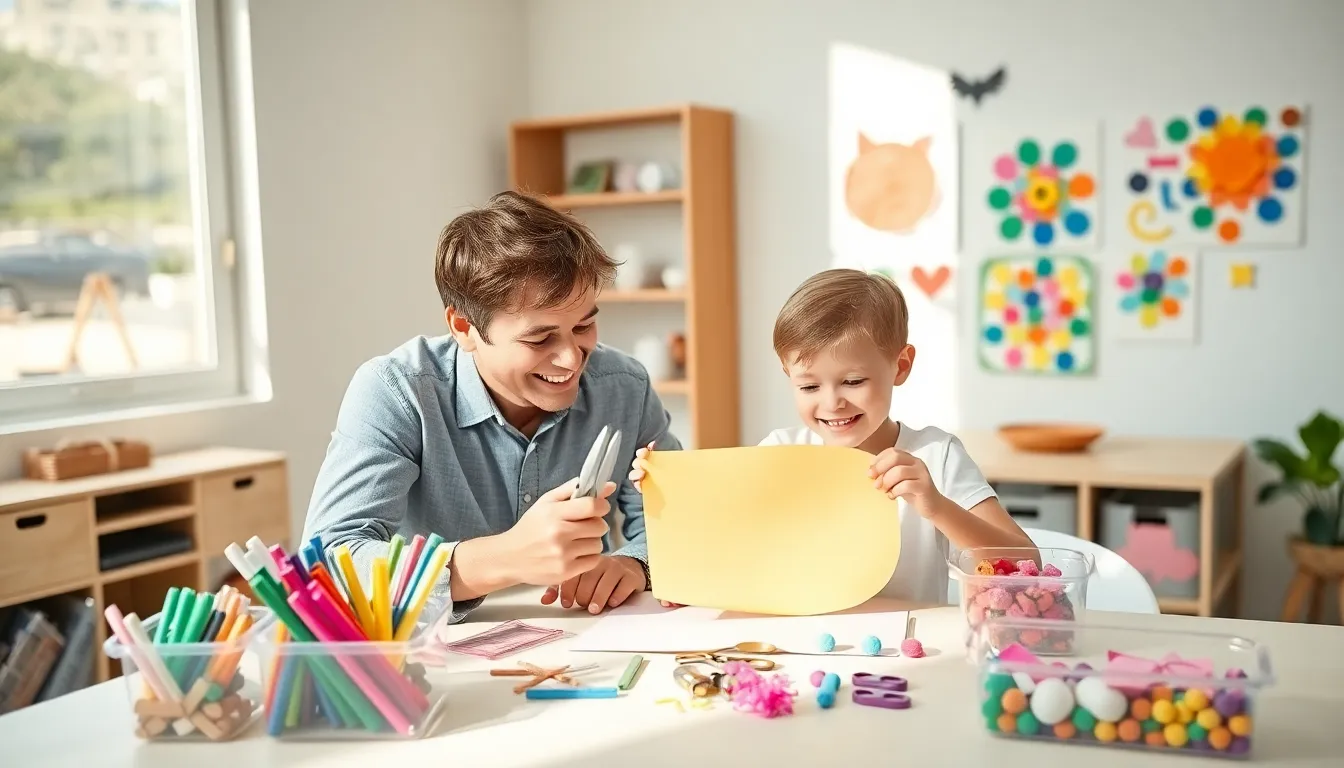
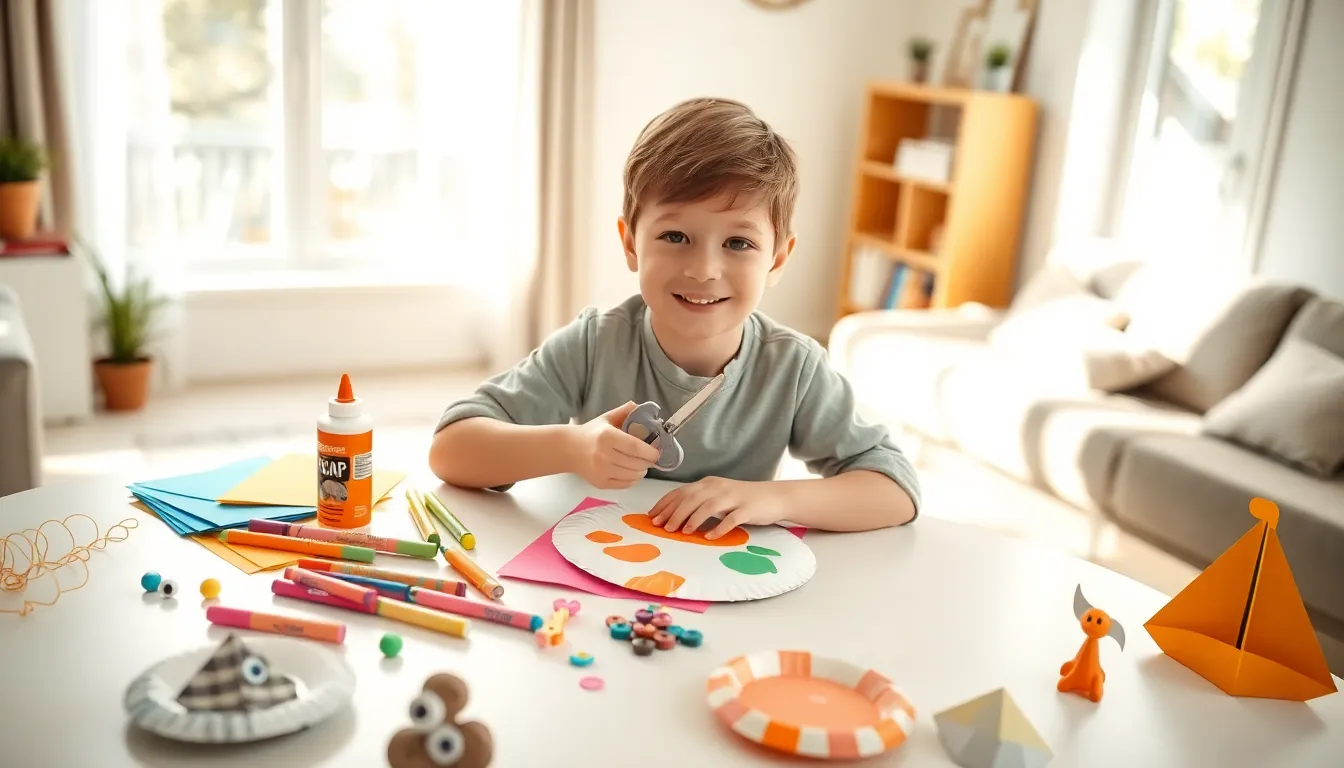
Assembly Techniques
Start with simple projects. Paper plate animals, greeting cards, and collages teach basic assembly skills. Children learn to position pieces before gluing them permanently.
For 3D projects, work in stages. Let one section dry before adding the next. This prevents the structure from collapsing under wet glue.
Troubleshooting Common Problems
Too much glue creates soggy paper and weak bonds. Show children how a thin, even layer works better. “A little goes a long way” becomes their mantra.
If pieces won’t stick, check the surface. Glossy paper resists glue, lightly sand it or use tape instead. These crafts and DIY for kids techniques help children problem-solve independently.
Working With Recyclable Materials
Recyclable materials turn trash into treasure. These crafts and DIY for kids techniques teach creativity and environmental awareness simultaneously.
Cardboard Creations
Cardboard boxes become castles, cars, and robots. Toilet paper rolls transform into binoculars, characters, and pencil holders. Cereal boxes make excellent frames and storage containers.
Cut cardboard with safety scissors for thin pieces. Thicker cardboard requires adult help with utility knives.
Plastic Bottle Projects
Plastic bottles become planters, bird feeders, and bowling pins. Cut them in half to create scoops or funnels. Remove labels and wash thoroughly before crafting.
Bottle caps work great for mosaics, magnets, and game pieces. Collect various sizes and colors for more creative options.
Paper and Newspaper Crafts
Newspaper creates papier-mâché projects, beads, and woven baskets. Old magazines provide images for collages and decoupage. Scrap paper becomes confetti, bookmarks, and paper beads.
These crafts and DIY for kids techniques cost almost nothing while teaching children to see potential in everyday items.
Age-Appropriate Techniques and Safety Tips
Matching crafts and DIY for kids techniques to each age group ensures success and safety.
Ages 2-3: Exploration Stage
Toddlers learn through sensory play. Finger painting, tearing paper, and stacking blocks suit their abilities. Supervision remains constant at this age. All materials must be non-toxic since mouthing is common.
Ages 4-5: Skill Building
Preschoolers can handle safety scissors, glue sticks, and chunky crayons. Simple cutting, basic folding, and guided painting projects work well. They follow two-step instructions but need patience and encouragement.
Ages 6-8: Growing Independence
School-age children manage more complex projects. They use regular scissors, white glue, and various painting tools. Origami, basic sewing, and multi-step assemblies challenge their growing skills.
Ages 9 and Up: Advanced Techniques
Older children handle hot glue (supervised), woodworking tools, and detailed crafts. They can plan and execute projects with minimal guidance. Complex origami, jewelry making, and model building engage their abilities.
Essential Safety Guidelines
- Always supervise young children during crafts and DIY for kids techniques
- Store sharp tools out of reach
- Use non-toxic, washable materials whenever possible
- Establish clear workspace rules
- Clean up spills immediately to prevent slips